comment [17]
- From 88.207.90.171 on 30-01-2015 at 07:15:49
gdje nabavitit info elektronika br*41
IP: 88.207.90.171
Scooter battery problems, anyone?
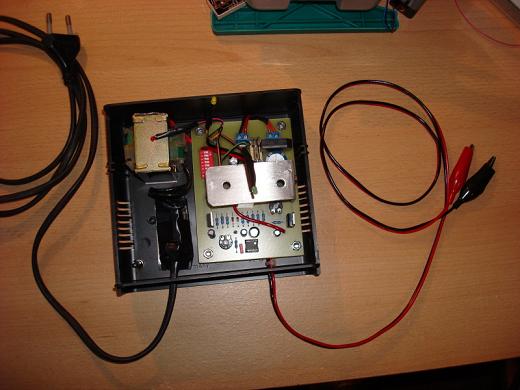
Why automatic? Because it automatically starts the charging procedure when battery voltage drops below a certain predefined value and stops after the voltage has risen above the maximum allowed value. Setup can't be easier, just connect two alligator clips to battery terminals and plug the device in mains. This way it can stay connected for months and the battery will never overcharge. This comes very very handy when you have a scooter or a real motorcycle that you don't drive during the winter time. Because we all know what happens to a battery when not used and especially during the winter.
You can download the schematics at the bottom of this page by clicking on red "download" button.

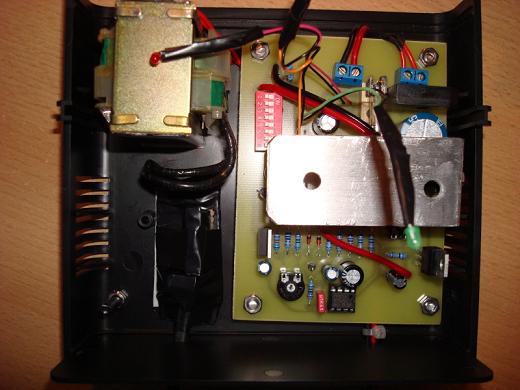
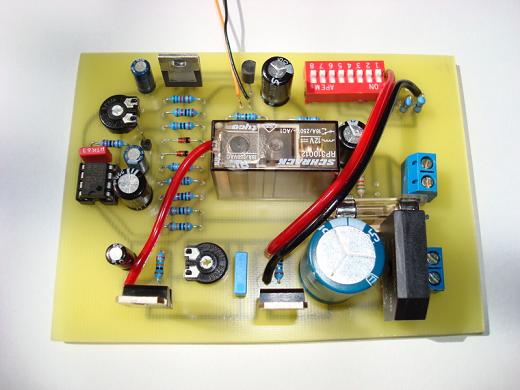
Device consists of two main parts; power supply with current and voltage regulation (2 x LM317) and voltage monitoring circuit with switching relay. The charging procedure starts when voltage drops below 12.6V, and finishes when it gets to 13.8V. These values are not fixed and can be adjusted with trim-pots. The maximum charge current can also be adjusted with DIP switches. Voltage is not that critical but it must not be below 13.85V so that the charging procedure can stop.


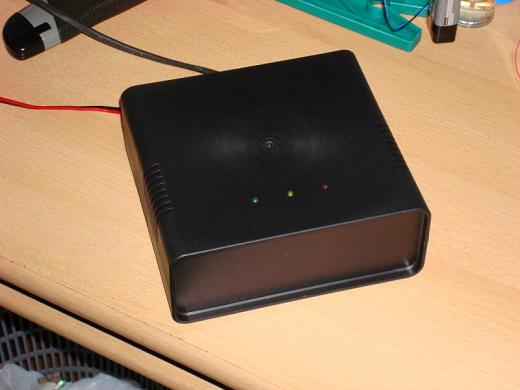
It is mounted inside a plastic project box with three LEDs: green – powered on, yellow – charging in progress, red – wrong battery polarity (switch + and -).

Schematics are from Info elektronika br. 41, only the PCB is adjusted for different relay and additional power regulators.
Author (sent by): RazoR
Download counter: 25,816
Rating: 

 (2.86, votes 3182)
Date: 09-06-2010
Lokalna verzija ove stranice: Automatski punjač akumulatora
Tags: akumulator, automatic, battery, charge, charger, punjac, scooter, smart. +add your tag
the provided schematic does not correspond to the PCB shown. Additionally, there is no hint of
code for the uC.
Is the uC really only checking for polarity and less than cutoff voltage before energizing the
charge relay? I would have hoped for switching between charge and maintenance mode
automatically.
IP: 138.201.205.167
gdje nabavitit info elektronika br*41
IP: 88.207.90.171
necesito que me digas los Nombres de los Materiales Por Favor y en Donde se Conecta La
Corriente, Me podrias dar mas especifico el Diagrama Por favor agradecere muchisimo
IP: 190.130.43.79
da li bi mi netko mogo poslat popis elemenata ??? bio bih jako zahvalan !
IP: 78.1.166.147
Real smart to use a relay in a battery charger to charge batteries that might emit hydrogen
gas.
IP: 173.3.165.244
I've contacted him for the updated schematics...
IP: n/a
Incomplete schematic. Have the PCB layout but no full schematic ..... need to see the values of
the resistors near the DIP switches, we do not know the values of the electronic parts used
near the LM317. Please attach the full schematic. Anyway good job!!
IP: 82.78.3.253
hi trax. why to use with trickle charger? why another charging unit? makes no sense. that is
not the reason. he uses an own power supply. look at his photos
IP: 188.109.252.250
I guess that he made this regulator so it can work with Trickle Charger:
http://en.wikipedia.org/wiki/Trickle_charging
IP: n/a
You can log-in on forum link: Login page. After logging-in, return to this page and click refresh in your browser.